Medium Format – How far can you go
During a shoot yesterday, when setting up my lights, I took a few frames to determine the speed, aperture and ISO I’d be shooting at.
Needless to say that because you have to start somewhere, the first shot is not always a keeper… but I kept it anyway and gave it a ply this morning.
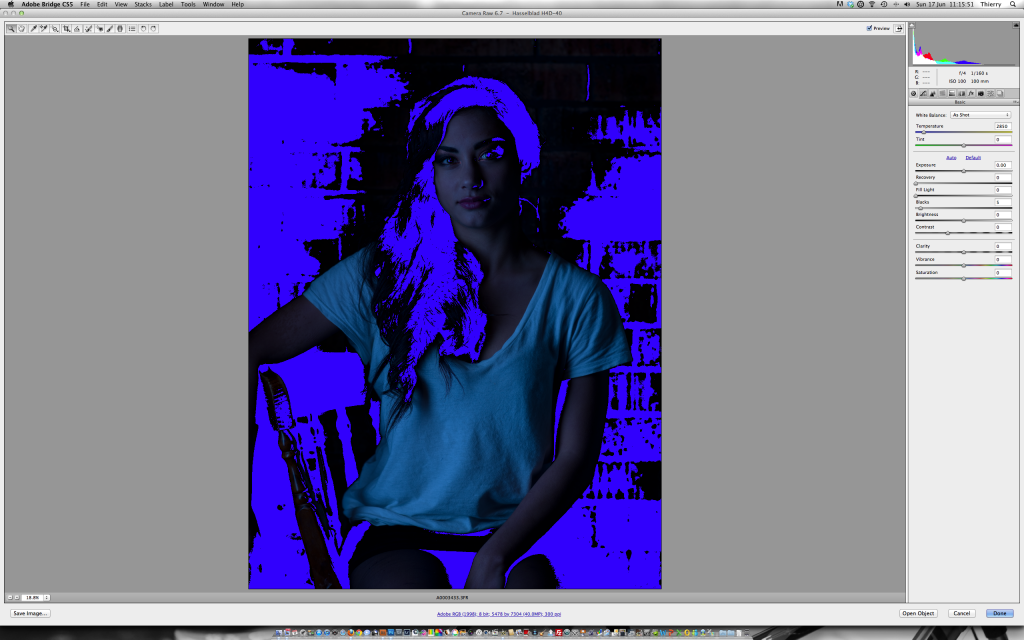
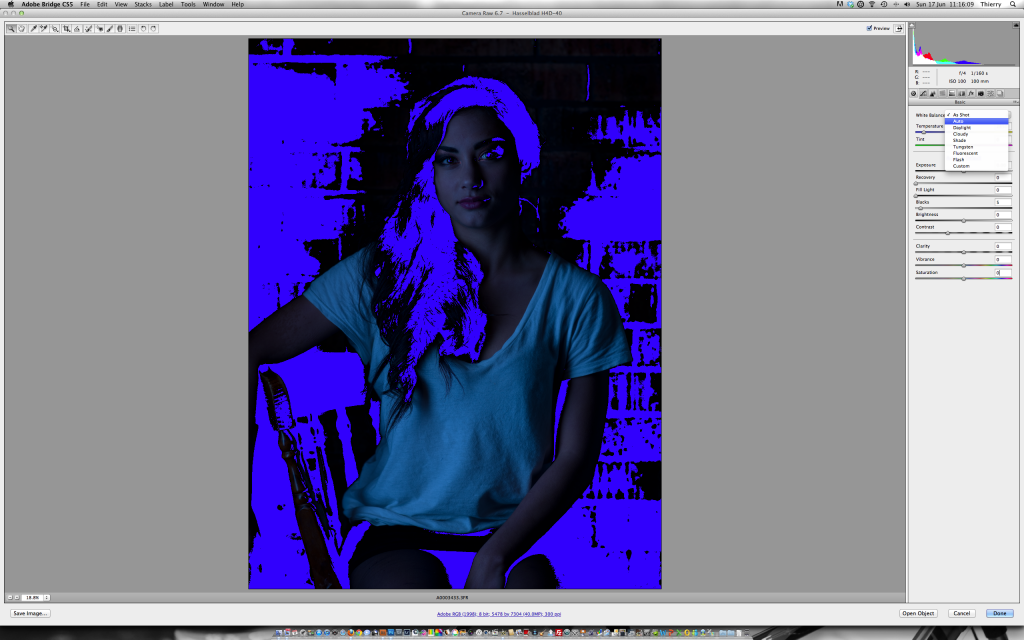
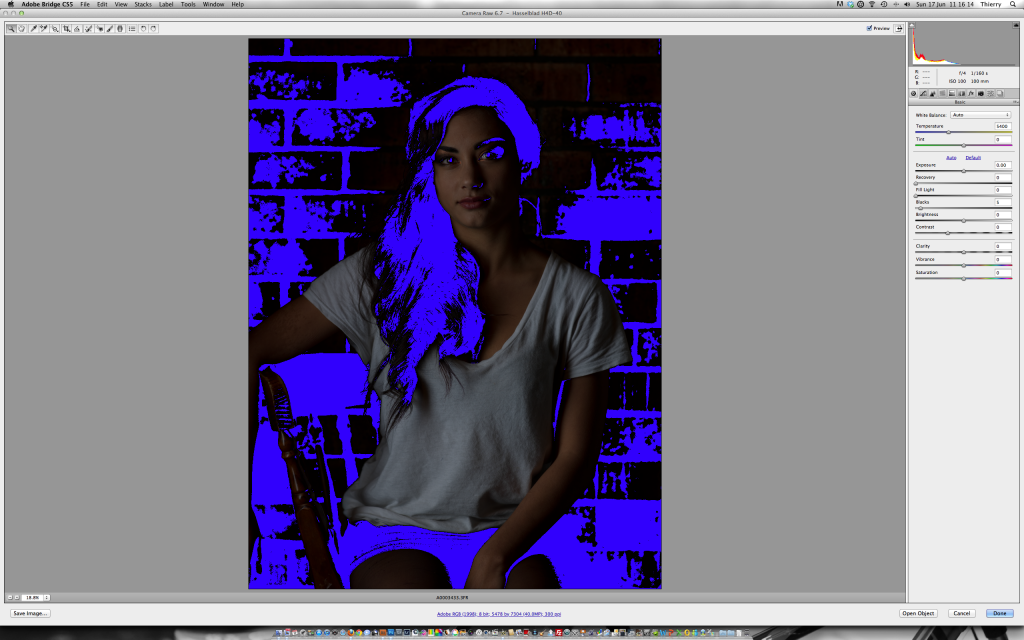
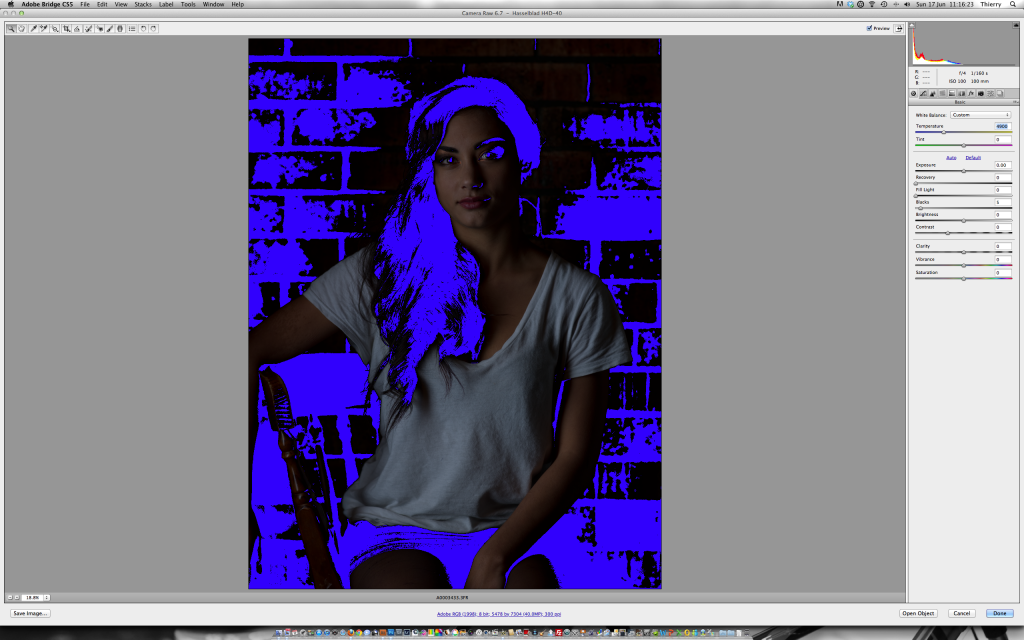
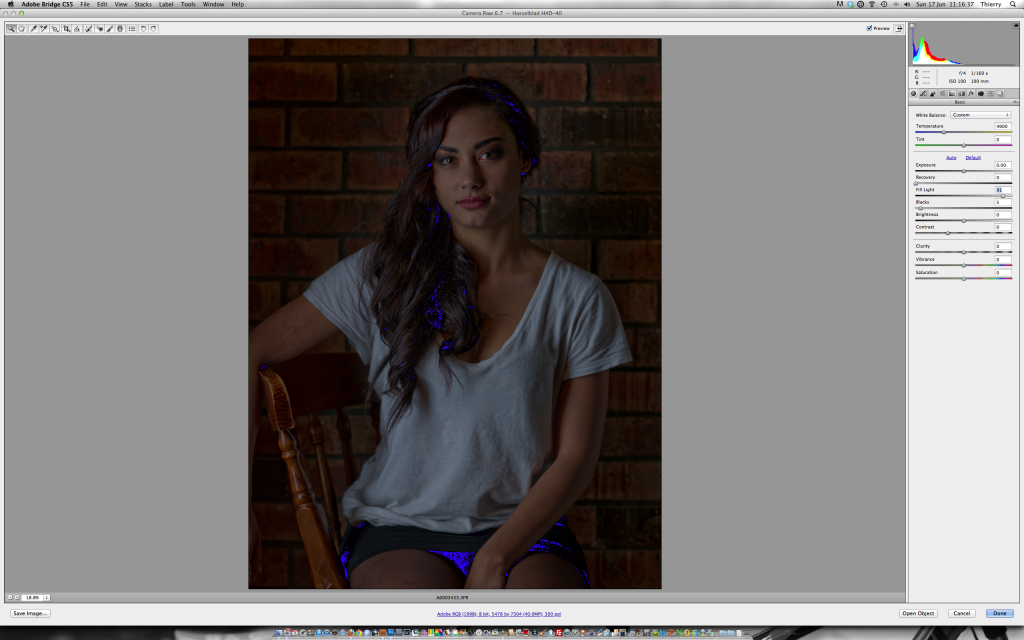
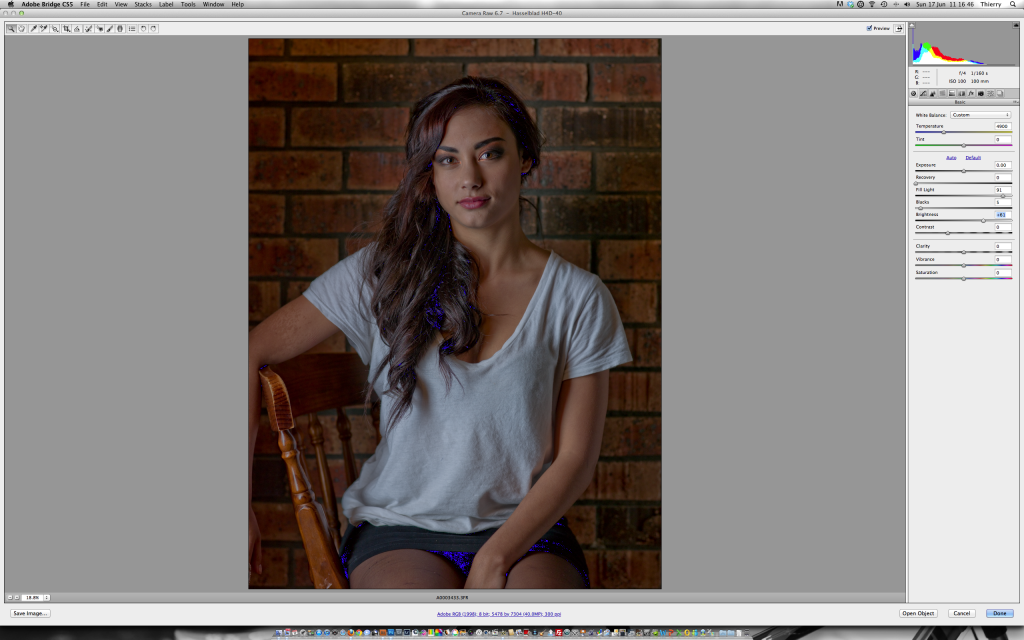
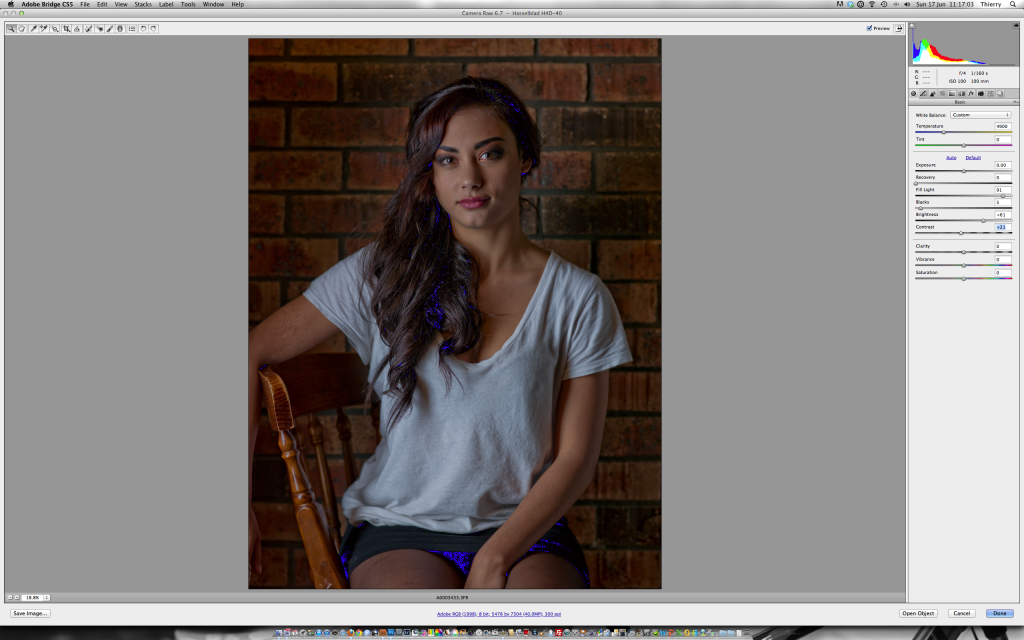
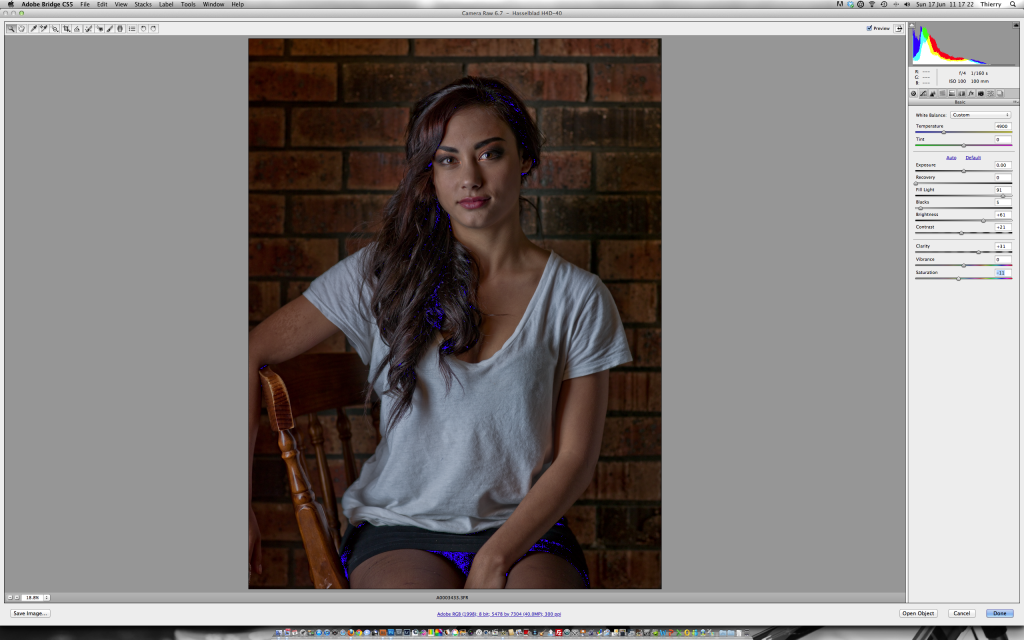
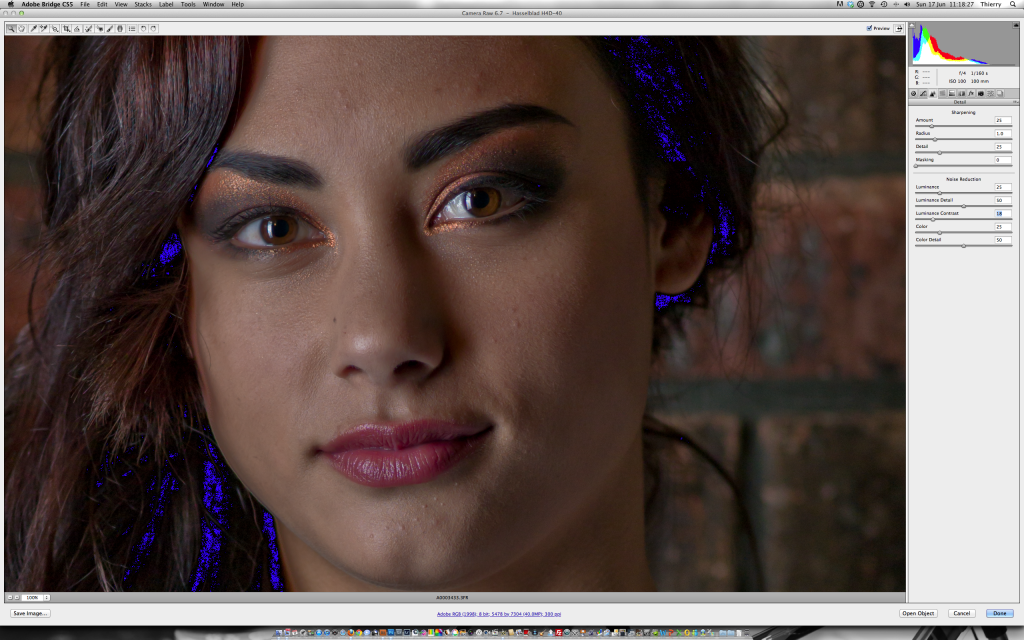
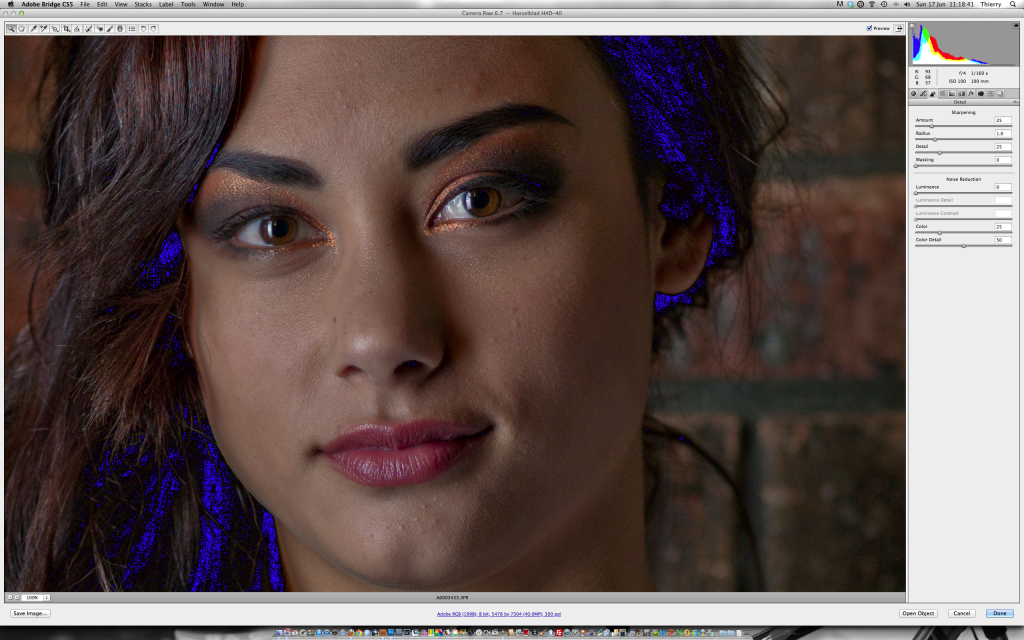
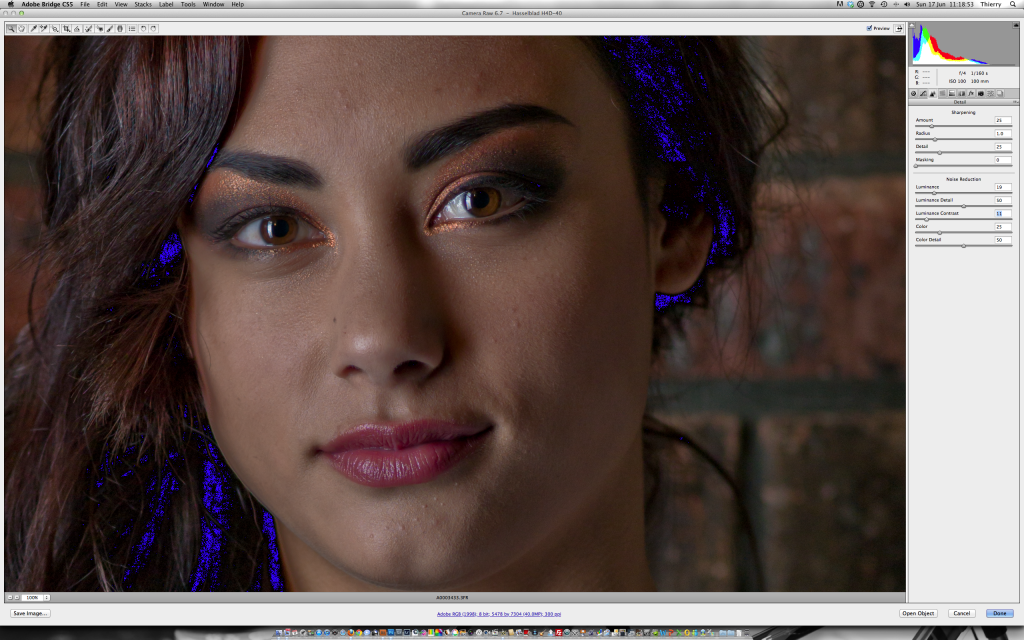
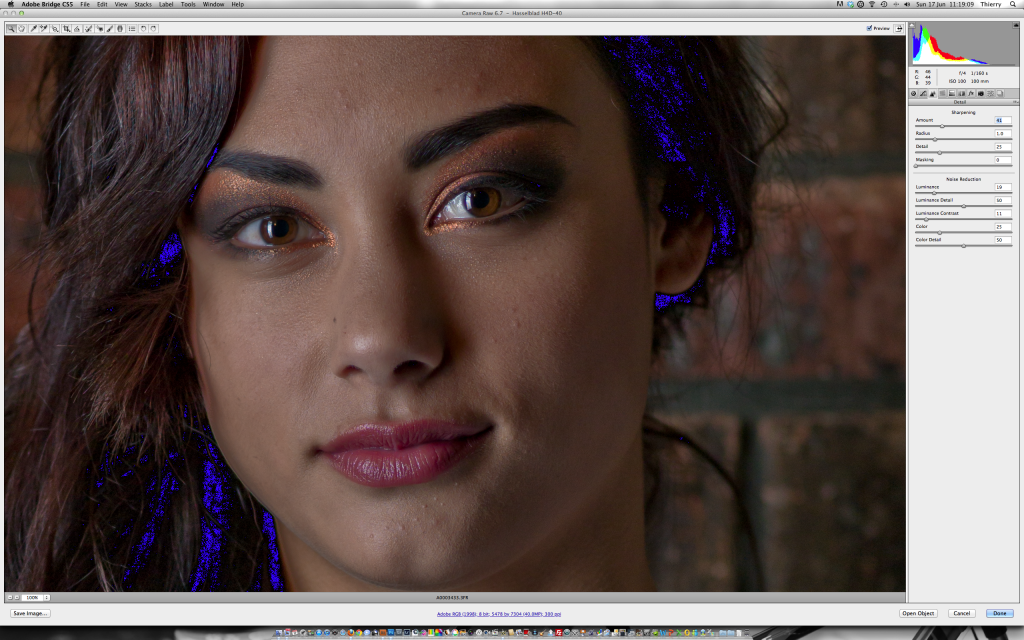
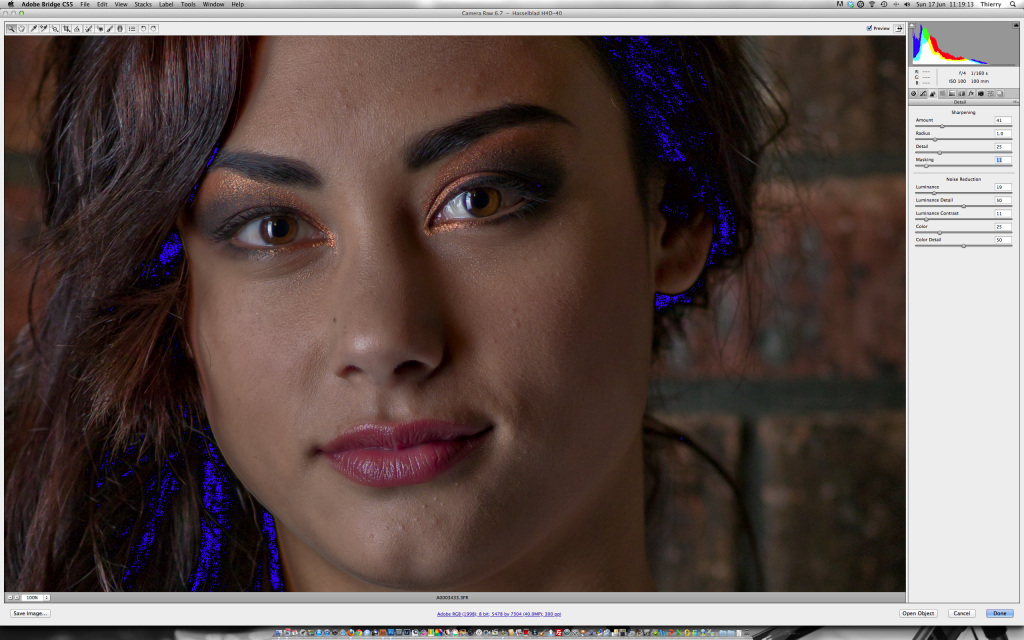
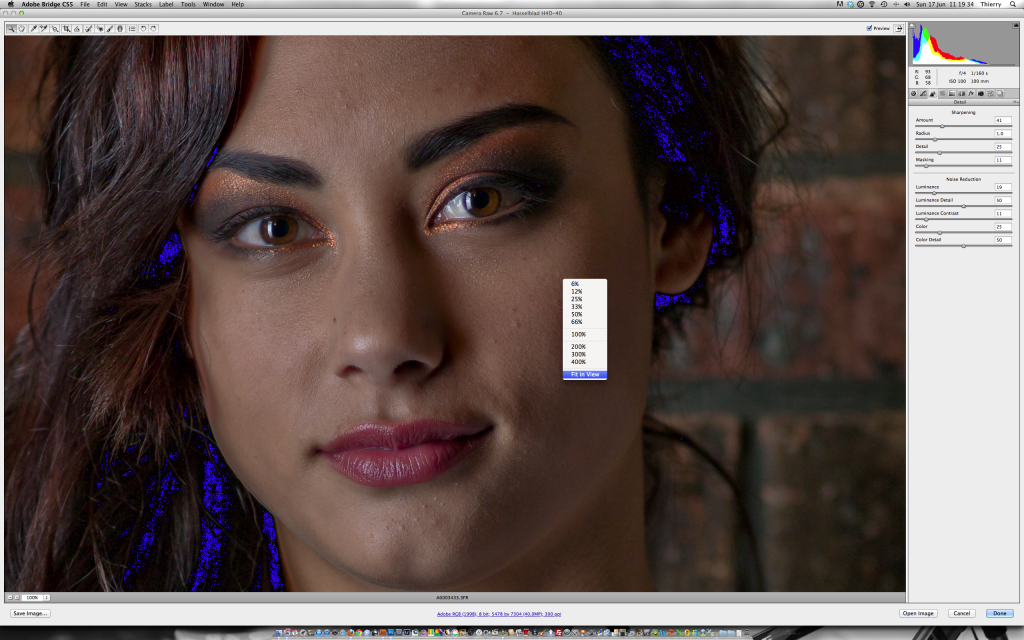
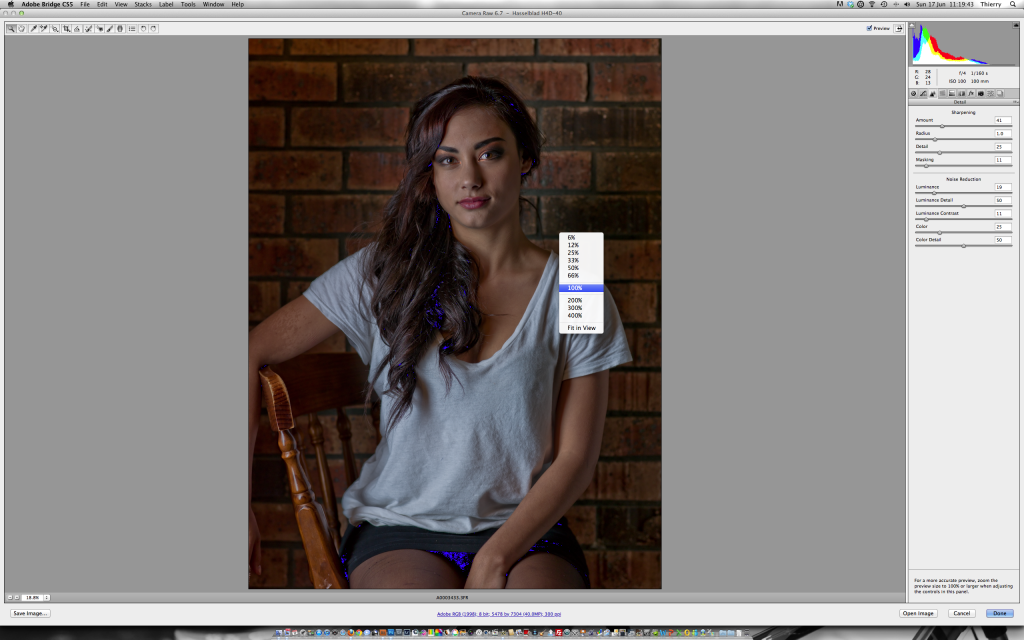
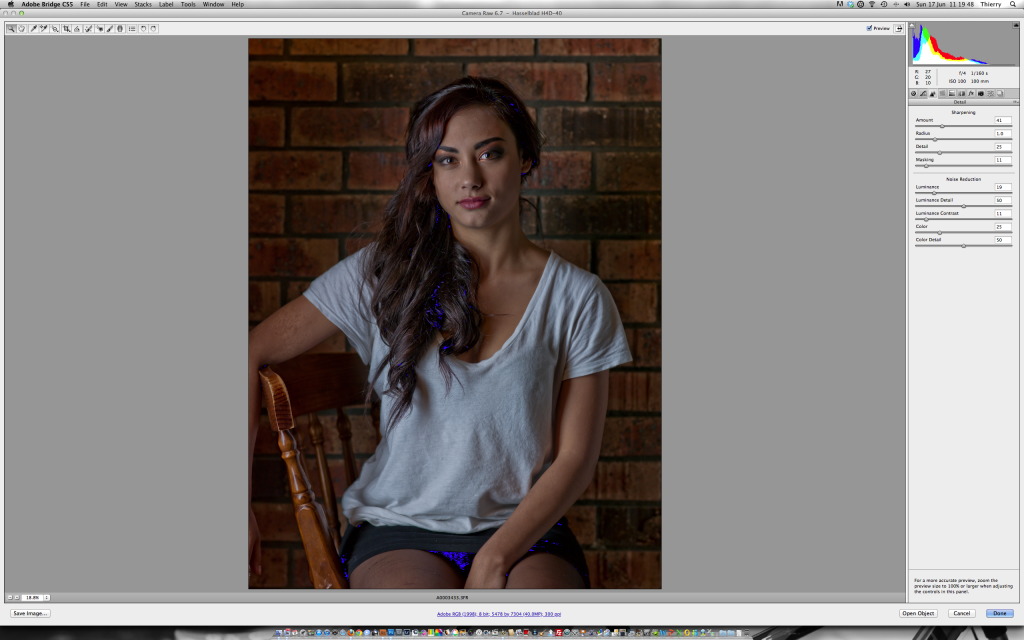
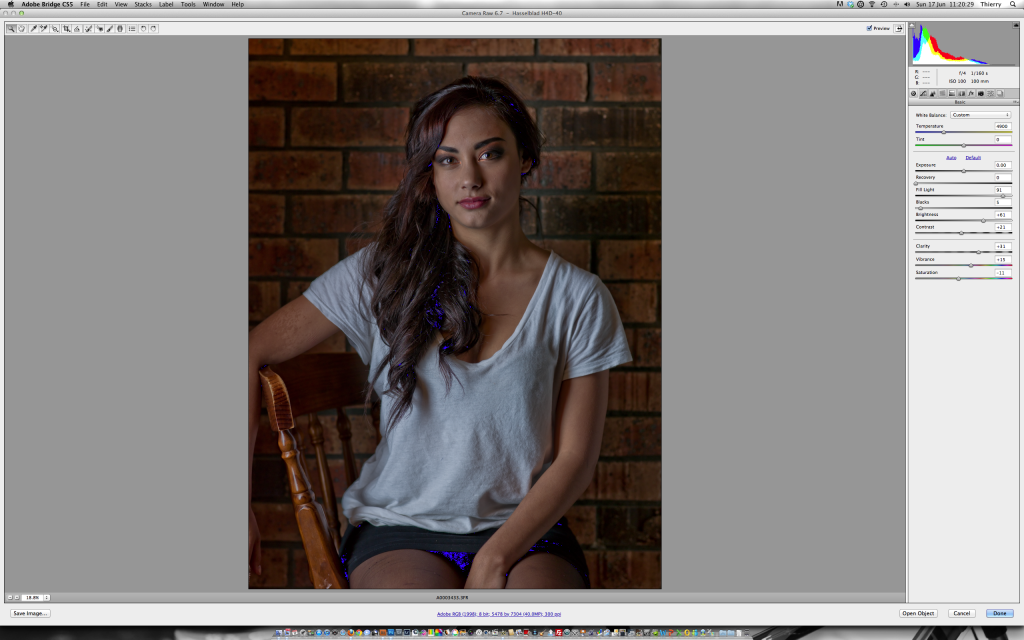
When checking the histogram, there are details in the areas that I need but there is still some serious clippings.. The image below is a screen capture of how the image showed up in Camera Raw. The files is shot with a HasselBlad H4D40. Click on the images for a bigger view
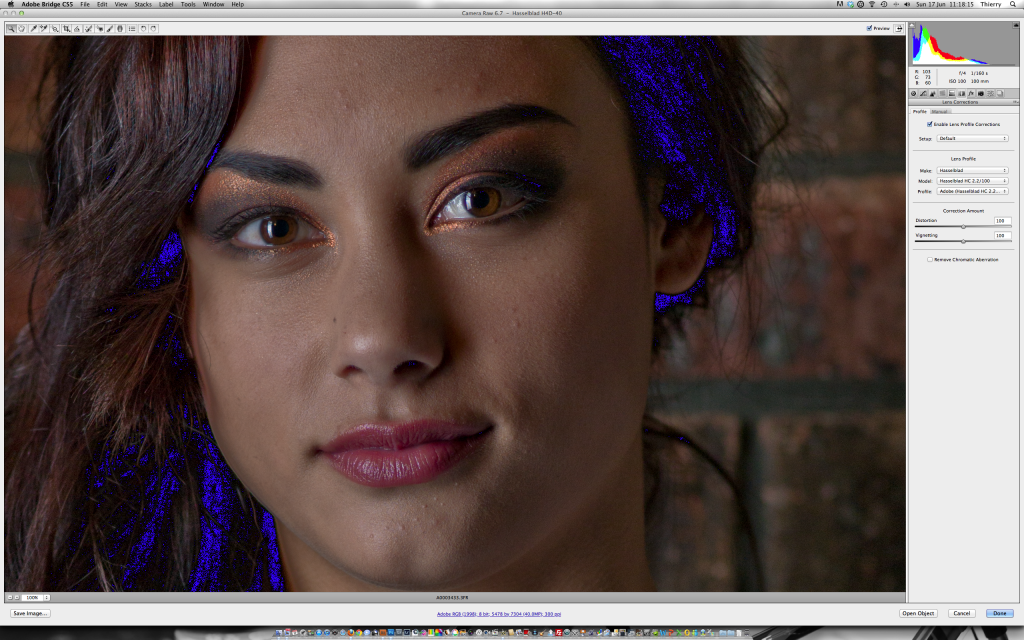
The blue overlay is where the details are clipped in the shadows.
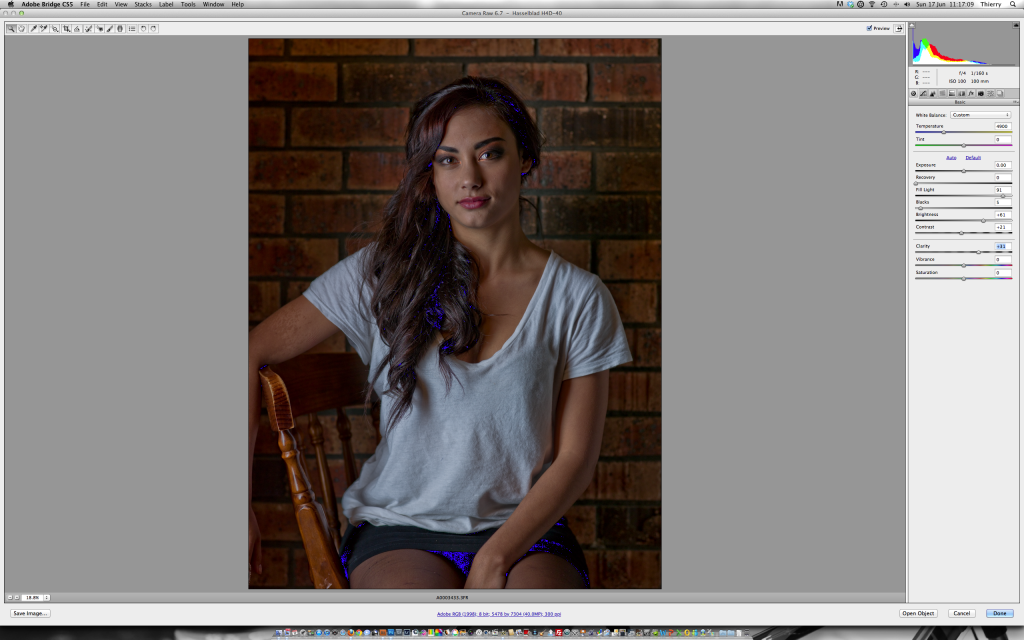
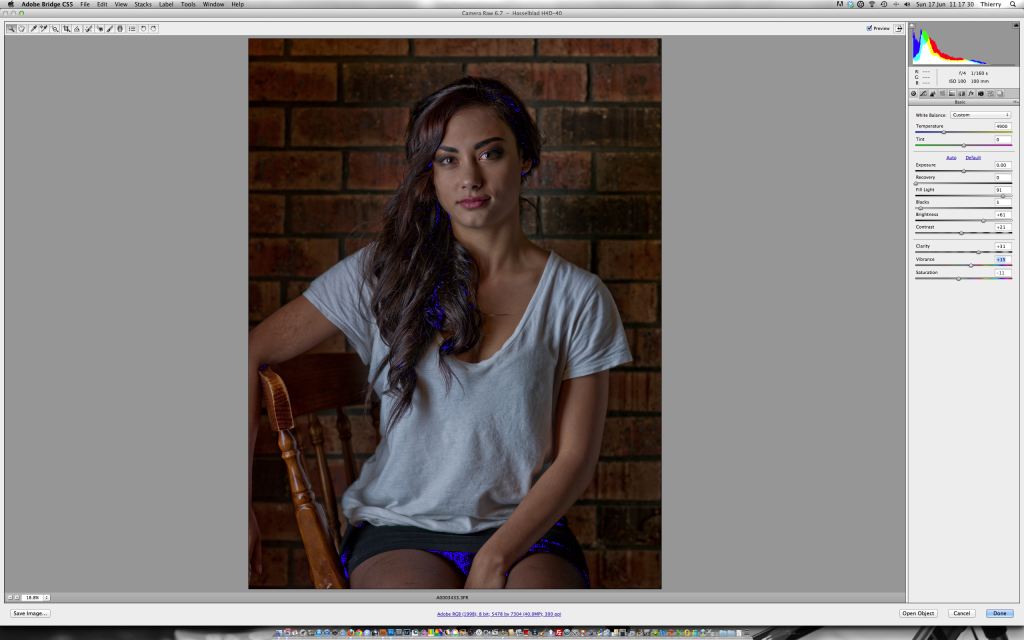
I always found that adding a bit of Clarity would lift the image and make the subject pop a bit more
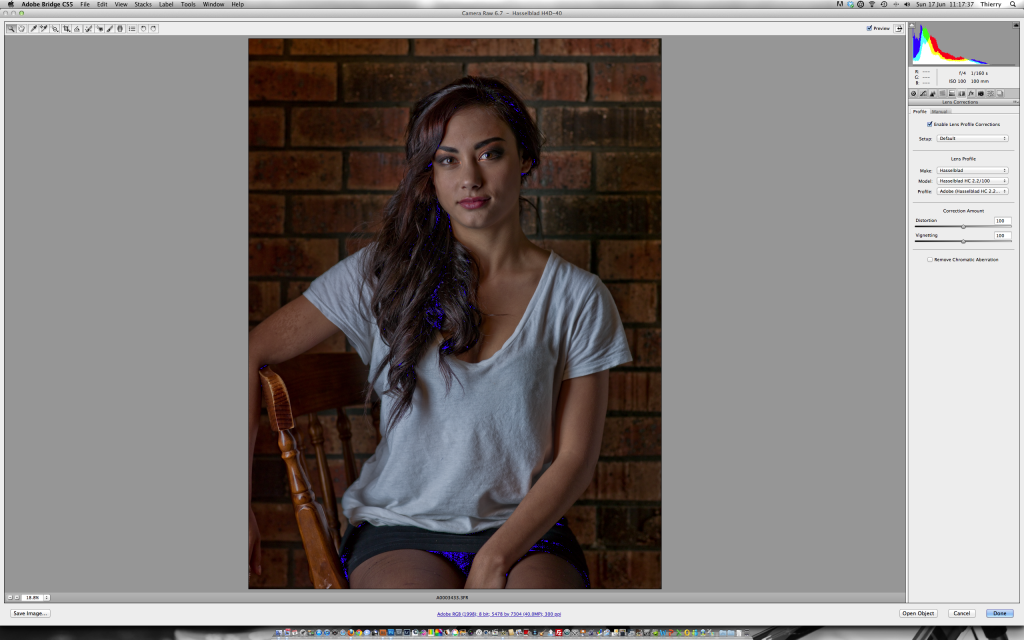
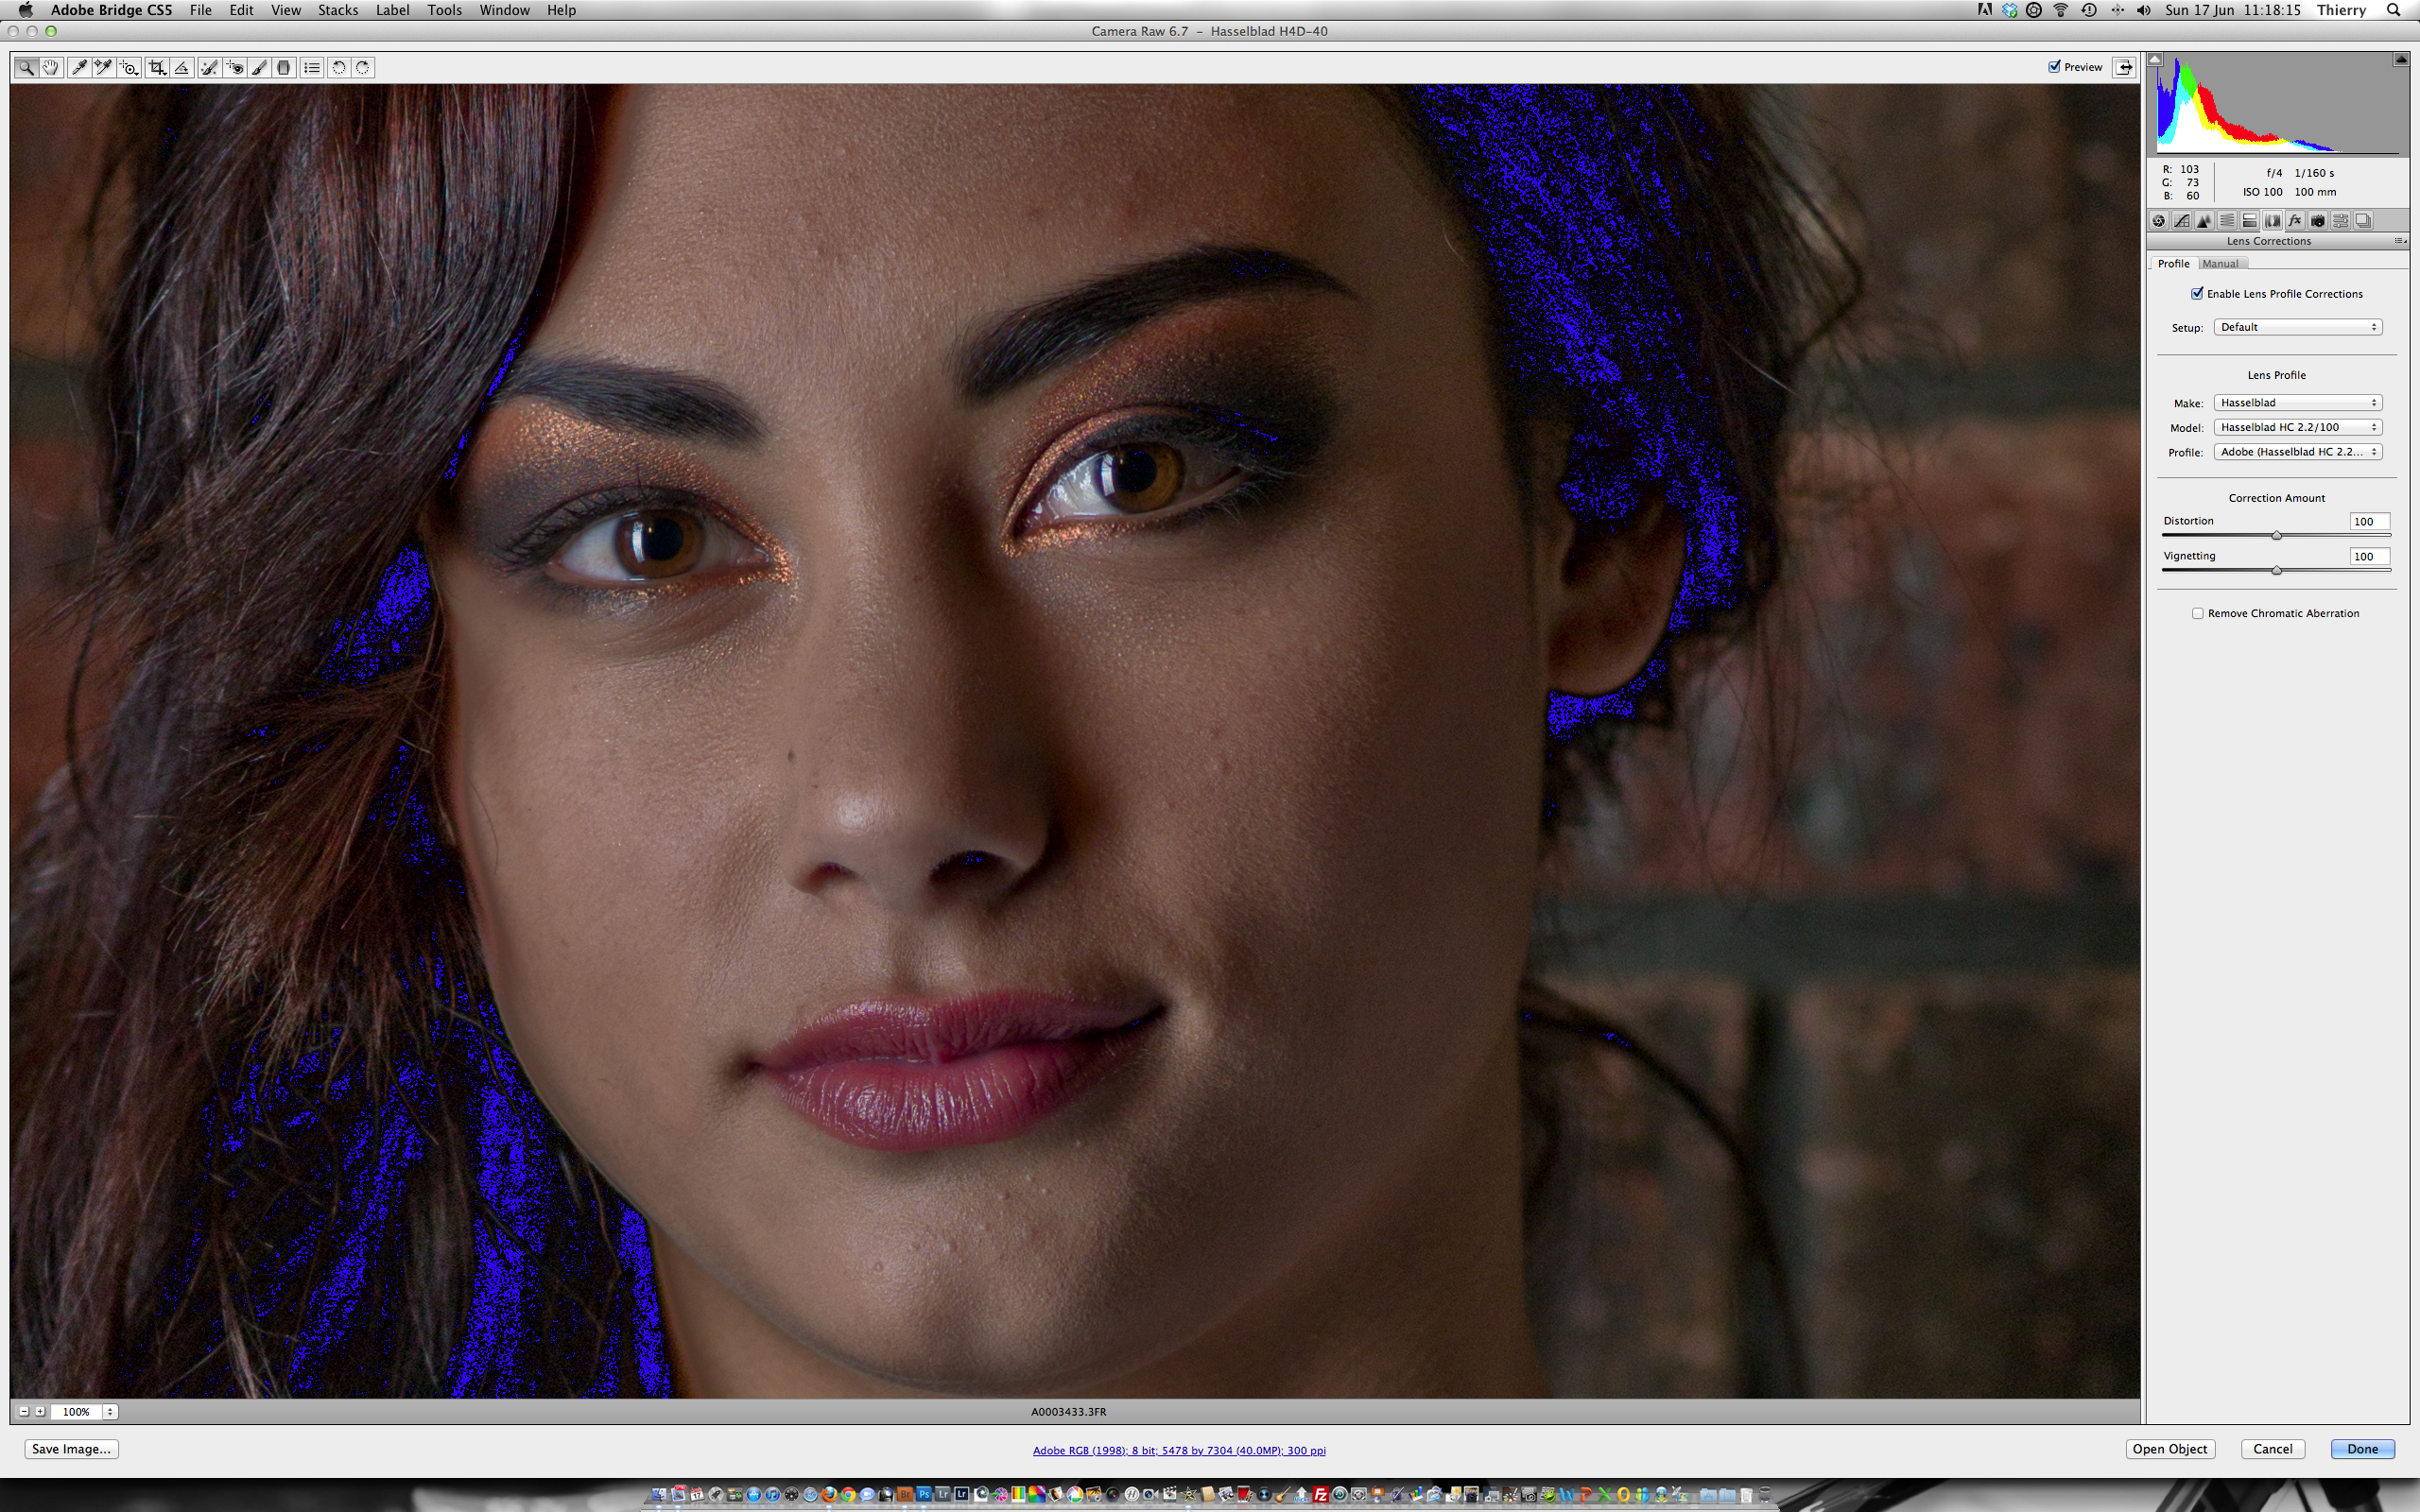
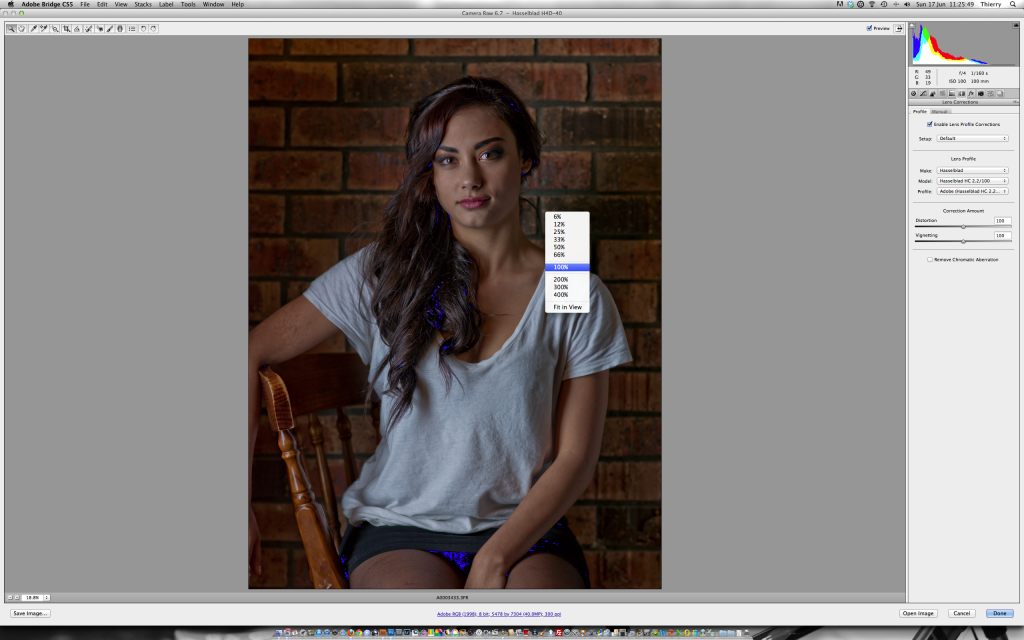
One of the adjustment that I almost apply every time if the lens profile correction. This reduces a bit of distortion common with wide angle lenses


